Find out how you can customize your store’s appearance to match your brand style, website layout, and color preferences
AXOMO comes with a great basic layout, but you can easily customize your store’s appearance from the admin panel. In this article, we’ll go over all of the different customization options now available to make your store look tailored for your brand.
Adjusting Your Store’s Design
Head over to your store’s admin panel and select “Customize”. In the first panel – “Store Design”, you’ll be able to make a few adjustments that will set the basic layout of your store:
Image Dimensions: Want square images for your items and categories? Or do you wish your store had portrait-oriented photos instead? Your first option will set the standard image dimensions for your store.
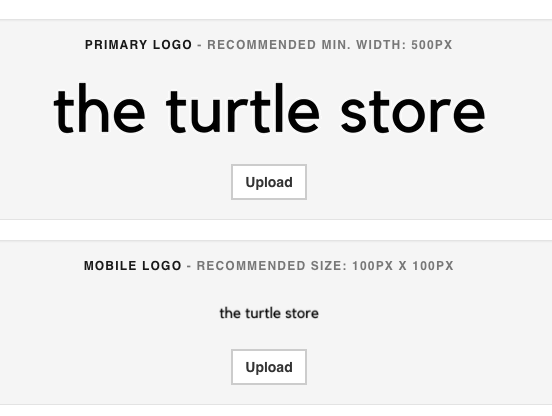
Logos: Set a primary (desktop) and mobile version of your logo so it looks great on all devices. If no mobile version is selected, AXOMO will default to the primary logo but it may look distorted on some devices.

Menu Bar Properties: Here, you can set the height of your menu bar and the vertical margin – which is the space between the top and bottom of your logo in the menu.
Storefront: Set a custom homepage if you’d like users to be redirected to a different site when clicking on your logo in the menu bar. Change the Home Category Text if you’d like to say something different than “All Categories”.

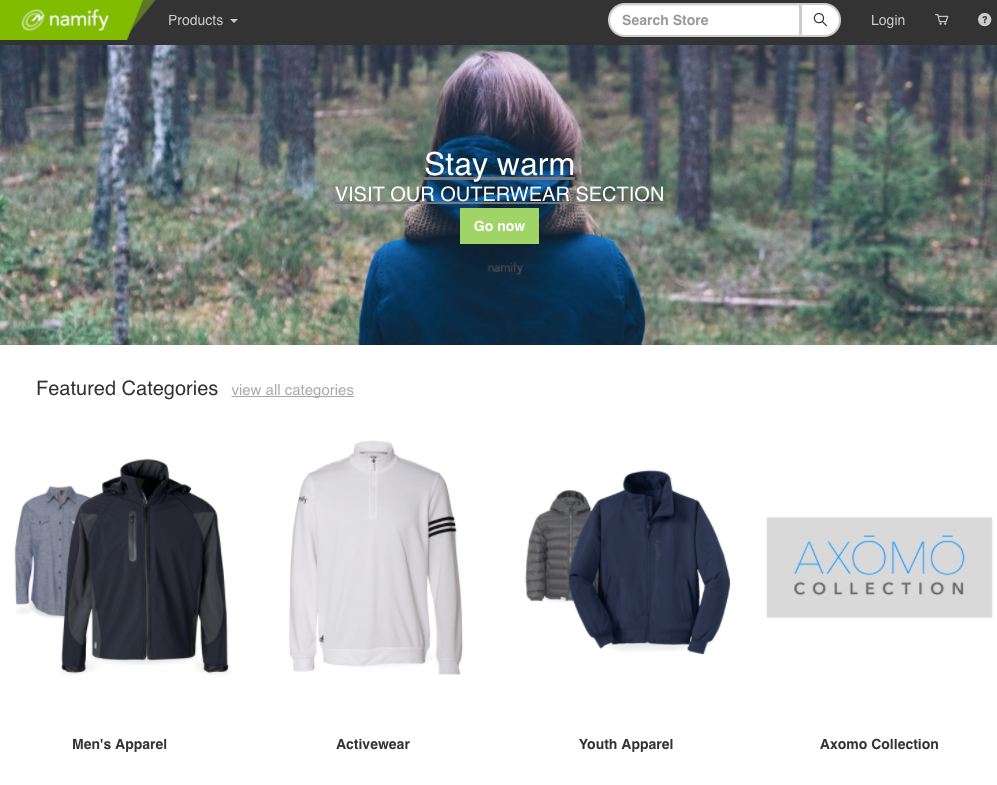
Banners: The banners tab is where you can customize the banner for different categories on your store. You can upload an image, select the text you would like to include over the image, and specify the height you would like the banner image to display.
Web Resource Files: This is where you would upload a custom coded stylesheet to change aspects of your store’s appearance.
Colors: Use the colors tool to select the primary and secondary colors of your store. This will change the background color, link color, and text color on your store.
Custom Links: Use custom links if you would like your menu bar to link somewhere outside of your store. To create a submenu for your links, click on the plus icon next to your custom link and enter the desired URL and text:
Custom Domain: Use the domain tab to change the URL of your store at any time.
Making Your Store More Accessible
Support Rep: By default, your store’s support representative is set to AXOMO customer support. You can change this by turning on “Use Custom Contact” to redirect customer service questions to someone else.
Social Media: Add social media links to your store – these will show in emails and other areas as more social media features are added.
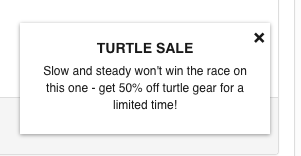
Fly-Outs: Create custom fly-outs on certain pages of your store to give users more information about items, promotions, your brand, or anything you can think of! Set the duration of your message, which pages you’d like it to appear on, and how long you want to wait before showing your message again (this is called “cookie duration”).

Customizing Store Emails
Email Templates: In this section, you can change the appearance of emails sent on behalf of your store. You can make changes to the images shown in these emails if necessary in the “email variables” section.
Custom SMTP: Use your own SMTP settings to make emails come from your company’s domain rather than from “store.axomo.com”.
Notifications: Change who receives notifications about important store events by adding their username in the “notifications” panel.
We hope you enjoy these customization features that will ensure your store stays in line with your branding and style preferences. Stay tuned next week to learn about how to distribute gift cards for your store.


